
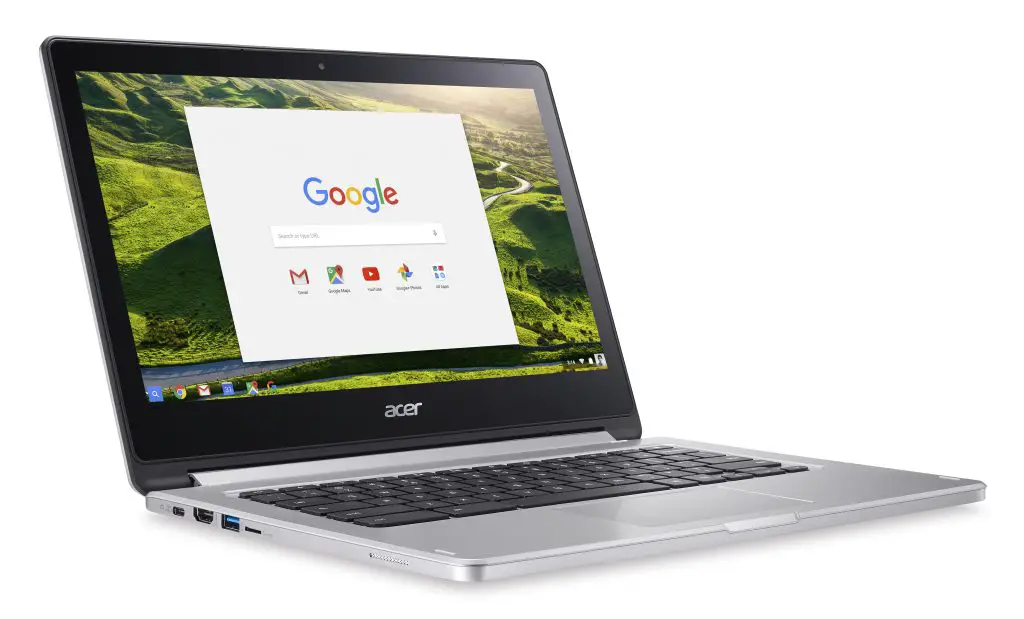
If you’re a Chromebook user, then you know that this device is one of the most reliable and efficient laptops in the market. With its advanced features and functionalities, it’s no wonder why many people prefer it over traditional laptops.
However, like any other electronic device, there may come a time when your Chromebook requires an inspection to ensure optimal performance. Whether you’re experiencing sluggishness or errors while working on your Chromebook or just want to make sure everything is running smoothly – fret not! In this post, we’ll guide you on how to inspect your Chromebook for potential issues so that you can keep enjoying its amazing capabilities without interruption!
Table of Contents
What Is Chromebook Inspection?
When you do inspection your Chromebook, you are looking for any physical damage that may have occurred. This can include cracks in the screen, dents in the body, or any other damage that you can see. You will also want to check all of the ports and make sure that they are working properly. The keyboard and touchpad should also be checked for any damage.
Inspecting your Chromebook regularly can help to ensure that it is in good condition when you use it. It is important that you keep up with regular inspections and fix any issues as soon as they arise.
How to Prepare for a Chromebook Inspection
If you are a student in a school that uses Chromebooks, there is a chance that your school will conduct random Chromebook inspections. These inspections are usually announced ahead of time, but it is always good to be prepared just in case. Here are some tips on how to prepare for a Chromebook inspection:
- Make sure that all wires and cords are neatly plugged in and secured.
- Check to see if the webcam cover is attached properly.
- Close all tabs and applications that are not being used.
- Place the Chromebook upside down on the desk with the screen facing up.
- Do not open the Chromebook until the inspection has been completed.
following these simple tips will help you be prepared for a Chromebook inspection and avoid any potential issues.
Guide to Inspecting a Chromebook
When you’re ready to inspect your Chromebook, there are a few things you’ll need to keep in mind. First, take a look at the back of the device. You should see two grills – these are the speakers. Below the speakers, you’ll find the power port and the charging port.
Next, take a look at the sides of the Chromebook. On the left side, you’ll find the volume rocker and the headphone jack. On the right side, you’ll find the USB ports and SD card reader.
Now that you know where everything is, it’s time to start inspecting! Start by checking for any cracks or damage on the body of the device. If you see any damage, make note of it so you can report it to your school or district technology department.
Next, check all of the ports and jacks to make sure they’re clear of debris and properly seated. Once you’ve done that, plug in your charger and make sure it’s snugly connected to both the Chromebook and the wall outlet.
Turn on your device and log in with your Google account. Once you’re logged in, take a look around and get familiar with Chrome OS. Spend some time trying out different apps and features to get a feel for how everything works.
By following these simple steps, you can ensure that your Chromebook is in good working condition before each school day begins!
- Check the Operating System and Storage Capacity
Before you start the inspection process, you need to check the operating system and storage capacity of your Chromebook. This will help ensure that you have enough space to store all the data you collect during the inspection process.
The first step is to check the operating system of your Chromebook. You can do this by going to the Settings menu and selecting About Chrome OS. Alternatively, you can type chrome://settings/help into the Omnibox and press Enter. On this page, you’ll see what version of Chrome OS you’re running as well as how much free storage space is available on your device.
Next, you need to check the storage capacity of your Chromebook. Again, you can do this by going to the Settings menu and selecting About Chrome OS. Alternatively, you can type chrome://settings/storage into the Omnibox and press Enter. On this page, you’ll see a list of all the storage devices attached to your Chromebook as well as how much free space is available on each one.
Once you’ve checked the operating system and storage capacity of your Chromebook, you’re ready to start the inspection process!
- Inspect the Keyboard and Touchpad
In order to properly inspect your Chromebook, you will need to take a close look at the keyboard and touchpad. Here are some things to keep in mind:
- Make sure that the keys on the keyboard are uniform in size and spacing.
- Check for any sign of wear or tear on the keycaps.
- Inspect the touchpad for any unusual markings or scratches.
- Pay attention to how the keys feel when you press them down. Do they offer good feedback? Are they easy to press?
- Test out all the major functions of the keyboard and touchpad, such as typing, scrolling, clicking, etc. Make sure everything is working as it should be.
- Examine the Screen and Battery Setup
The first thing you want to do is make sure that the Chromebook is turned off. If it’s not, go ahead and press the power button to turn it off. Once it’s off, take a look at the screen. Check for any dead pixels or any other defects. Also, check to make sure that the screen is securely attached to the body of the Chromebook.
Once you’ve checked the screen, take a look at the battery setup. Make sure that the battery is properly seated in its compartment and that all of the connections are secure. Also, check the condition of the battery itself. If it looks old or damaged, it’s probably best to replace it.
- Test Out All Ports, Buttons, and Connections
Now that you’ve familiarized yourself with the exterior of your Chromebook, it’s time to turn it on and start using it! Here are a few things to keep in mind while testing out all the ports, buttons, and connections:
- Make sure all the ports are firmly plugged in before turning on your Chromebook.
- Once everything is plugged in, press and hold the power button for about 5 seconds to turn on your device.
- Upon startup, you should see the Chrome logo followed by a Welcome page. If not, please try restarting your Chromebook.
- If you need to adjust the volume or screen brightness, there are dedicated buttons for those functions on the side of the device.
- You can connect an external mouse or keyboard to your Chromebook using the USB ports located on either side of the device. Bluetooth accessories can also be used with Chromebooks – just make sure they’re paired before trying to use them!
Tips for Maintaining Your Chromebook after the Inspection
After you’ve inspected your Chromebook, there are a few things you can do to help keep it maintained:
- Regularly clean the keyboard and screen with a soft, dry cloth. If additional cleaning is needed, use a mild soap and water solution. Avoid using any abrasive cleaners, which can damage the device.
- To keep the battery healthy and prolong its lifespan, avoid charging it to 100% or letting it drain completely. Instead, charge it to between 50-80%. And when you’re not using it for an extended period of time (like overnight), store it at 50%.
- If your Chromebook starts slowing down or acting lethargic, try restarting it. This can help clear out any temporary files or programs that may be hogging up resources.
- Make sure to update your Chromebook’s software regularly. These updates often include security patches and performance enhancements.