

Welcome to the future of virtual reality gaming! If you’re an avid Oculus user, then you know just how immersive and mind-bogglingly awesome it is to step into another realm. But what happens when those trusty controllers start losing their power? Don’t worry, we’ve got you covered!
In this blog post, we’ll walk you through the simple yet crucial process of changing batteries in your Oculus controllers, ensuring that your gaming adventures never hit a dead end. So put on your headset and let’s dive right in – it’s time to power up and get back into the game!
Table of Contents
How to Change Batteries in Oculus Controllers?
If your Oculus Controllers are not holding a charge like they used to, it might be time to change the batteries. This is a simple task that can be completed in minutes. The first step is to remove the battery cover plate. Next, find the screws that hold in the battery and unscrew them. Then lift out the battery and replace it with a new one. Replace the screws and cover plate and you are done!
If you have any questions or problems replacing the batteries in your Oculus controllers, consult the instructions below.
Warning Signs That Your Oculus Controller Needs a Battery Change
If your Oculus controller’s battery doesn’t hold a charge as long as it used to, or if you experience problems with the controller that seem unrelated to the battery, it may be time to change the battery. Here are some warning signs that your Oculus controller needs a battery change:
- The controller lights up briefly when switched on but doesn’t respond to inputs soon afterward
- Controller often has to be re-paired with Rift in order to work
- The controller stops working completely after a short period of use
- The controller feels “heavy” or “leaky” when squeezed
- The controller doesn’t seem to work with all games or applications
How to Change the Batteries in an Oculus Controller?
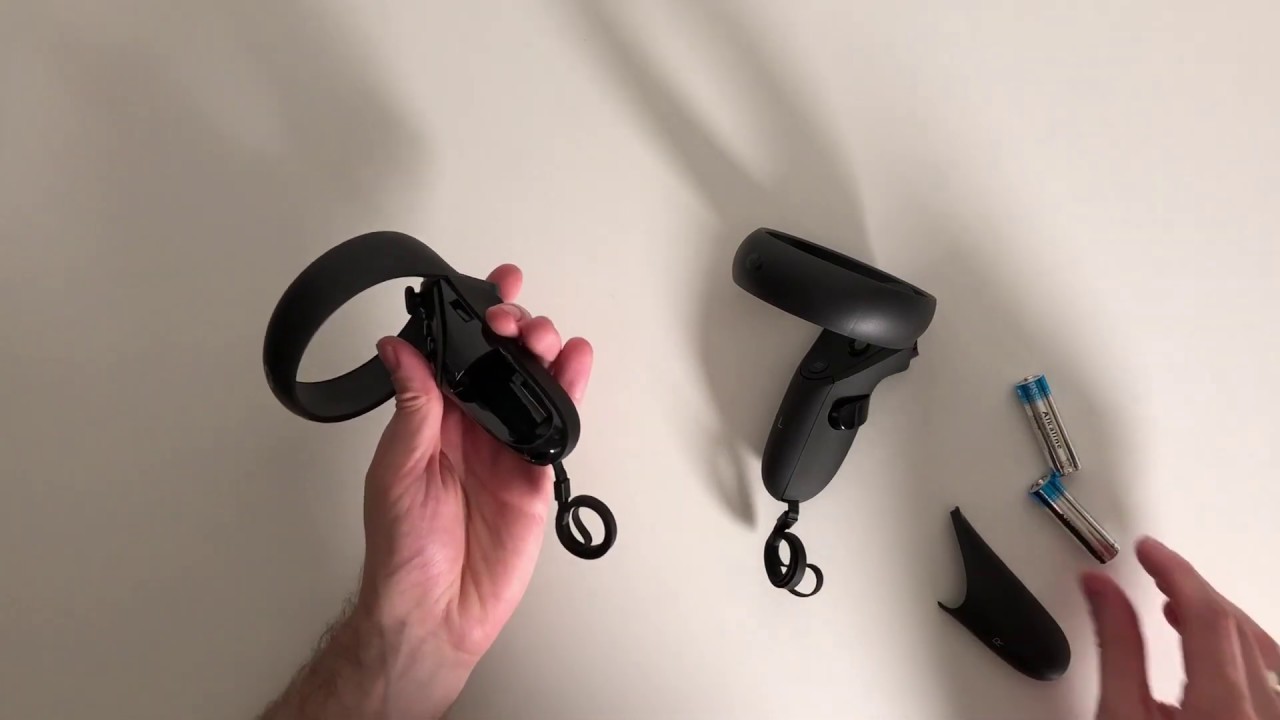
Oculus controllers require four 1.5V AA batteries (not included) to work. If your controller does not respond when you press the buttons or if the light on the front is blinking red, it likely needs to be replaced. Here are instructions on how to do so:
- Unplug the controller from the computer and remove the screws that hold it together
- Open up the controller and remove the top panel
- Inside you will see four 1.5V AA batteries
- Replace them with fresh batteries and screw the top panel back on
- Plug in your controller and test it out!
Tools You’ll Need for Battery Change
You’ll need the following items for battery change in Oculus controllers:
- Oculus Remote Control
- Medium Philips Head Screwdriver
- Antistatic Wrist Pad
- Replacement Batteries
- To start, remove the four screws located underneath the remote control by inverting it so that the flat end of the screwdriver is facing up and gently prying them out with a slight twisting motion. You may need to wiggle the remote a bit in order to get some of them to come loose. Once all four screws are removed, set the remote control aside.
- Next, remove the two screws (one on each side) that hold down the upper grip portion of your controller. Again, twist gently to pry them out from beneath with a screwdriver before setting them aside. The grip should now be able to slide off of its mount.
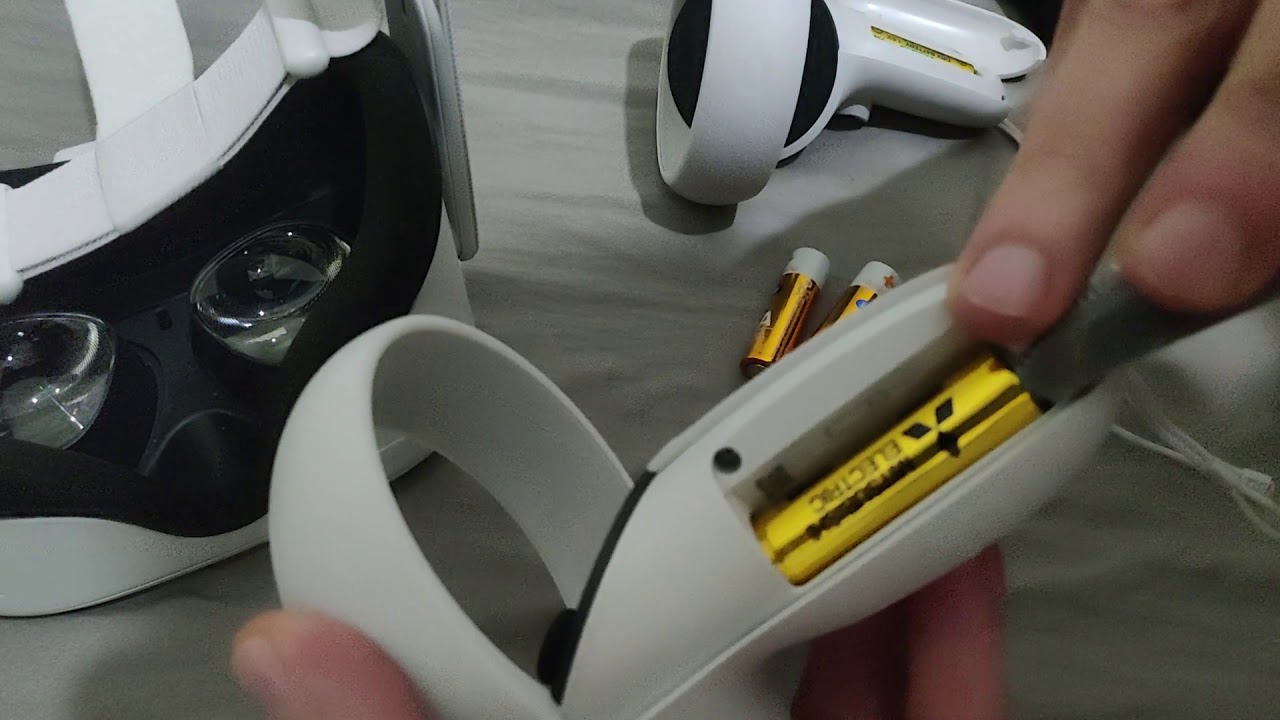
- Now determine which type of battery you need to replace and unscrew the appropriate number of screws (slightly more than for step 2) to access it. Be careful not to lose any pieces during this process! For AA batteries, for example, you’ll unscrew four screws while for AAA batteries, you’ll unscrew six screws.
- Install your new batteries in their respective slots and screw everything back in place with the original screws put back in place earlier (note: make sure they’re tight!). If your controller still doesn’t seem to be working right after putting in the new batteries, try restarting your software of the Oculus controller.
Conclusion
If you own an Oculus Rift or an Xbox One controller and are having problems with your controllers not working, changing batteries might solve the issue. It is important to note that changing batteries could void the warranty on your device, so it’s best to consult a professional if you’re unsure about doing it yourself. Just be sure to follow the instructions carefully so that you don’t damage either your controller or your device!